Quick Start Guide
Quick Start walks from opening TavernAI 2 to receiving the first AI reply.
Use it after Installation. We will start the app, connect a provider, add a card, and send one message.
1. First Message
Section titled “1. First Message”1.1 Launch TavernAI
Section titled “1.1 Launch TavernAI”Open TavernAI from the folder you extracted.
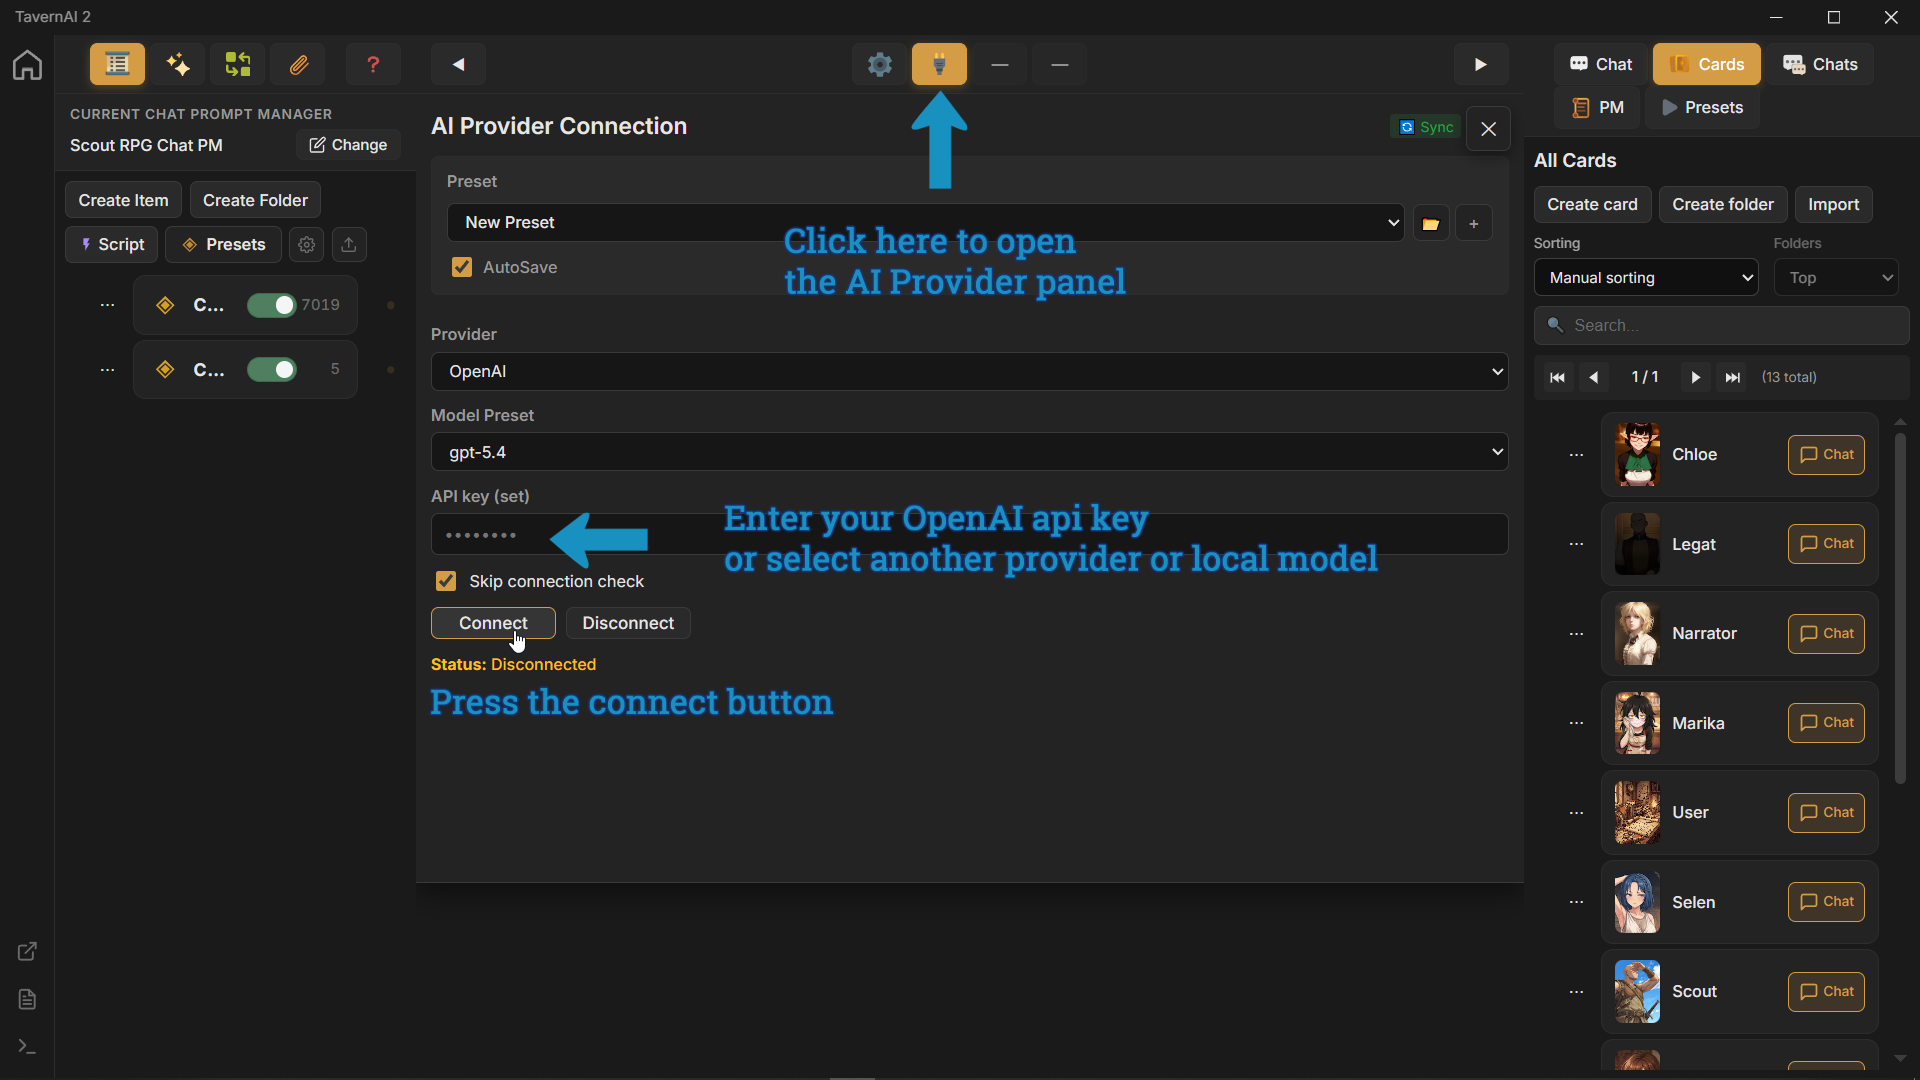
1.2 Connect a provider
Section titled “1.2 Connect a provider”Open provider settings and add the model backend you want to use.
1.3 Create a chat
Section titled “1.3 Create a chat”Press the character Chat button to create a new chat.
1.4 Write a message
Section titled “1.4 Write a message”Now let’s write the first message.
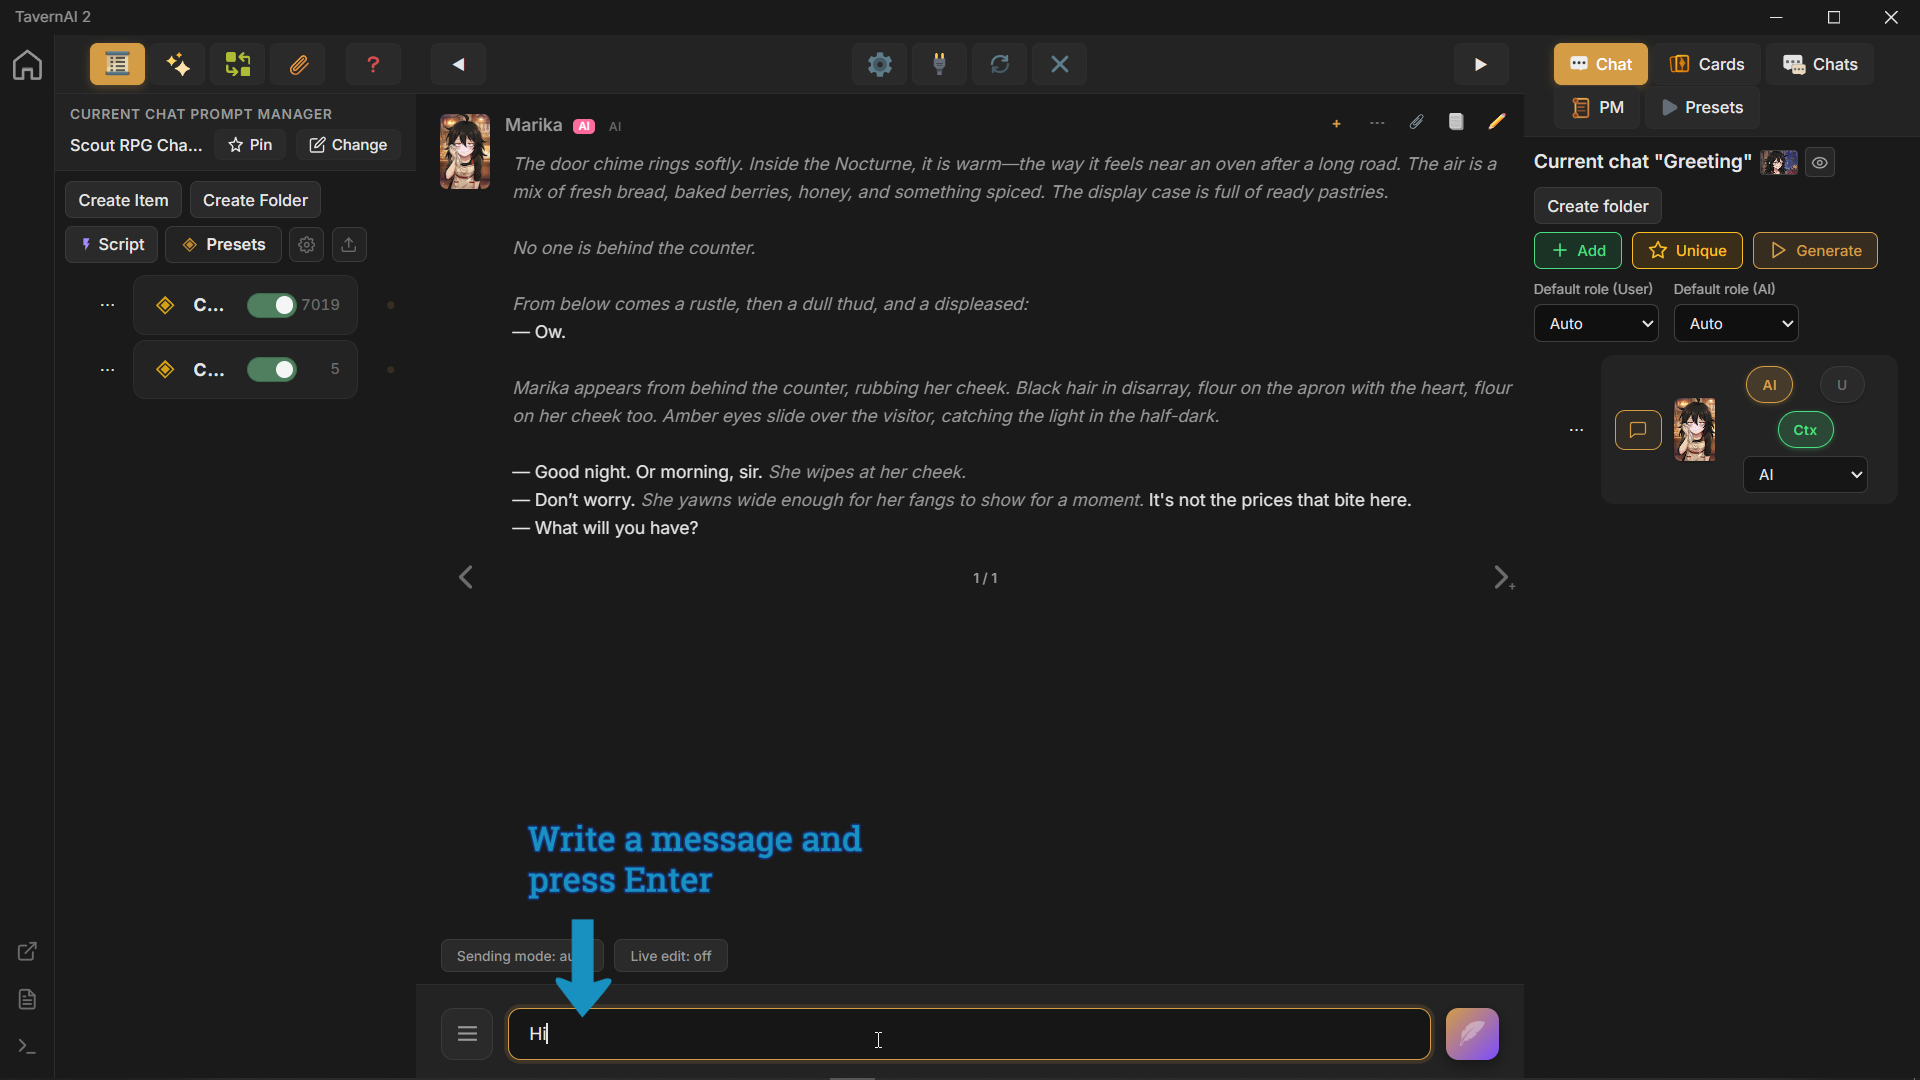
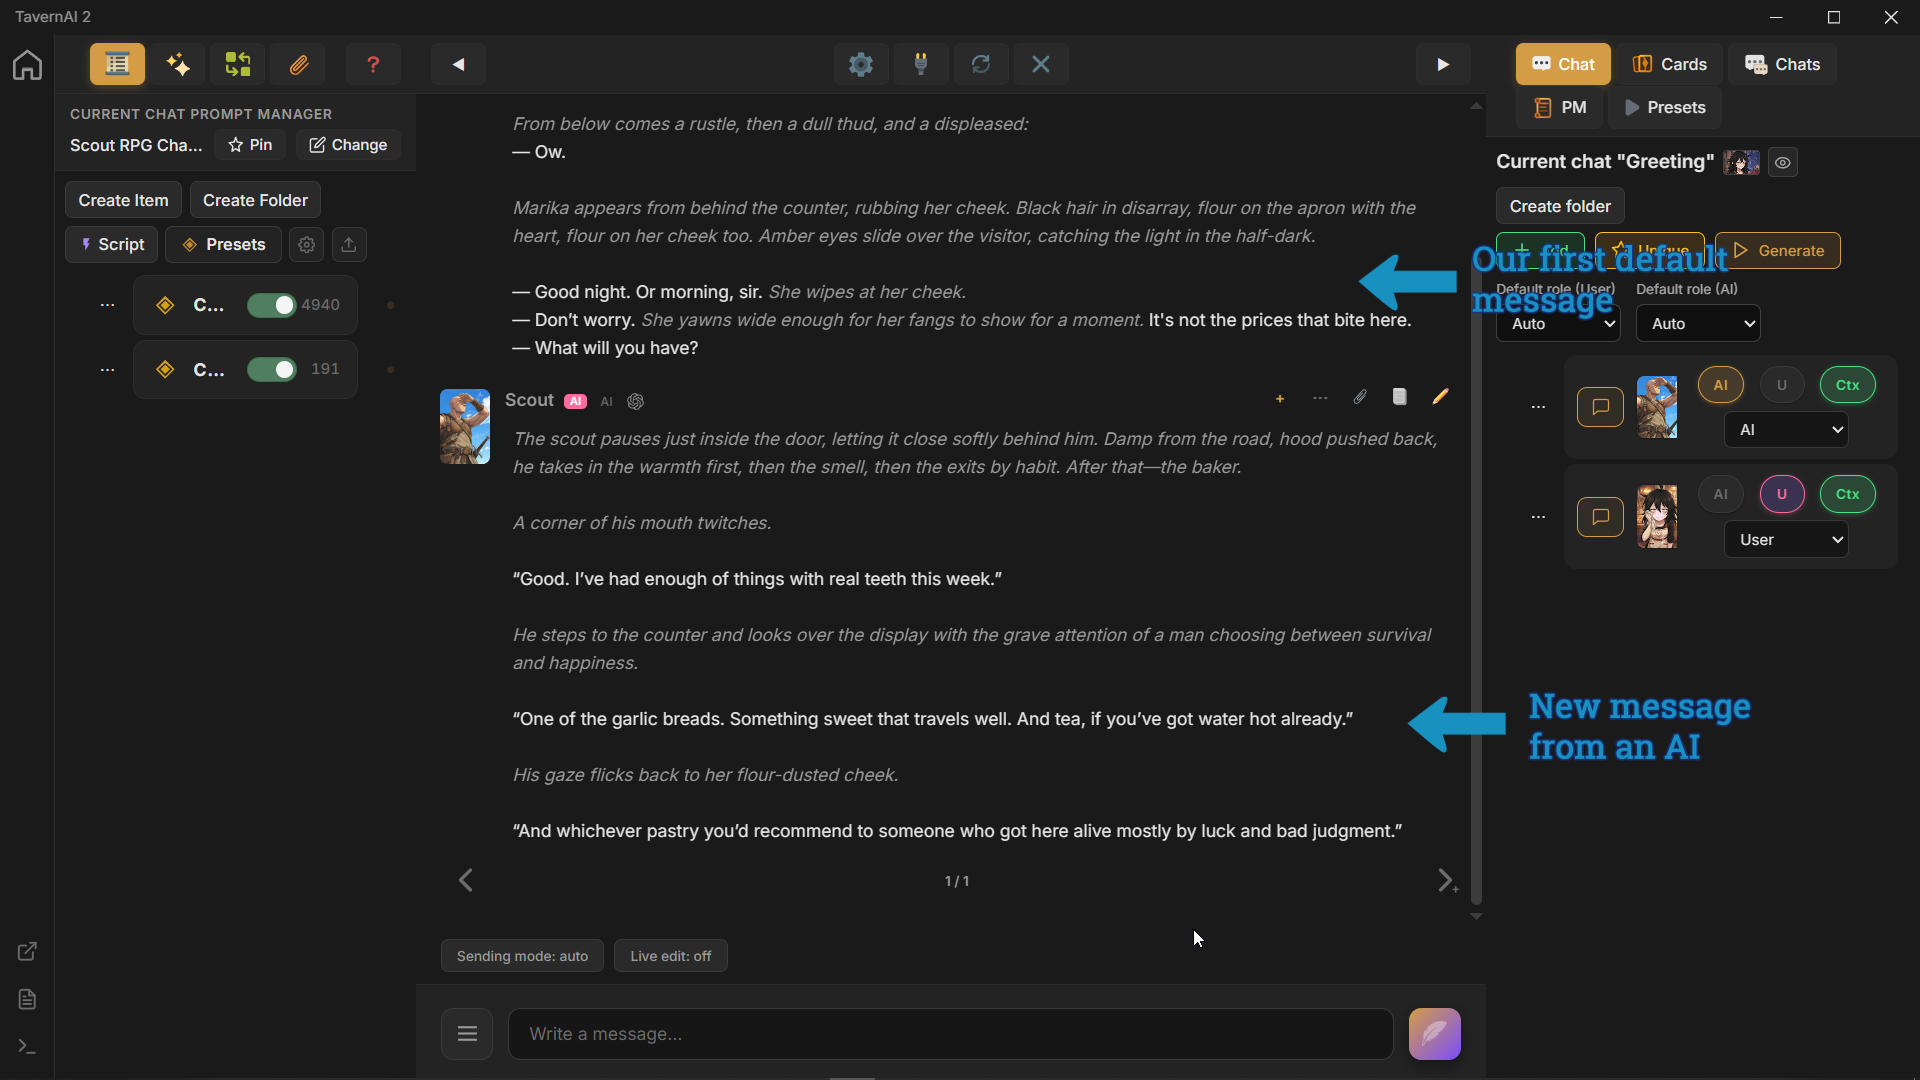
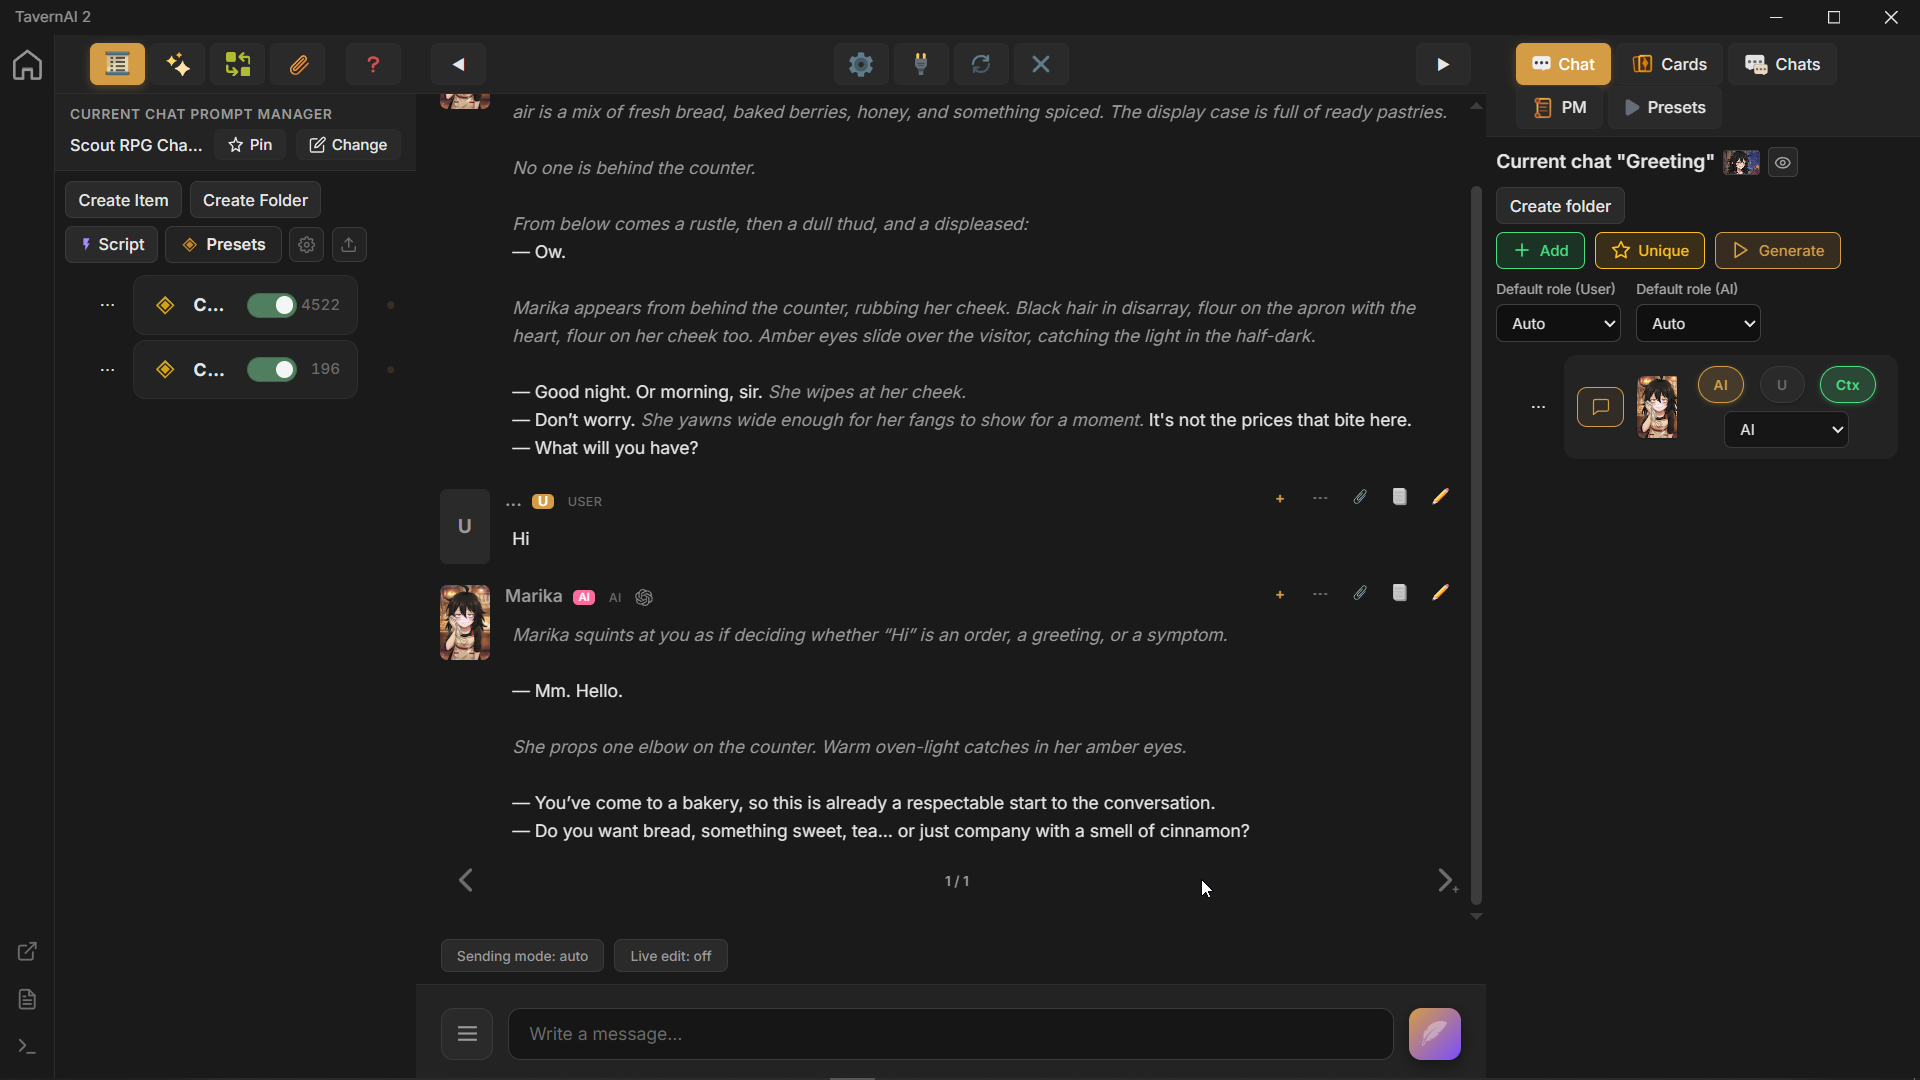
1.5 Get a response
Section titled “1.5 Get a response”Now we get the first AI reply.
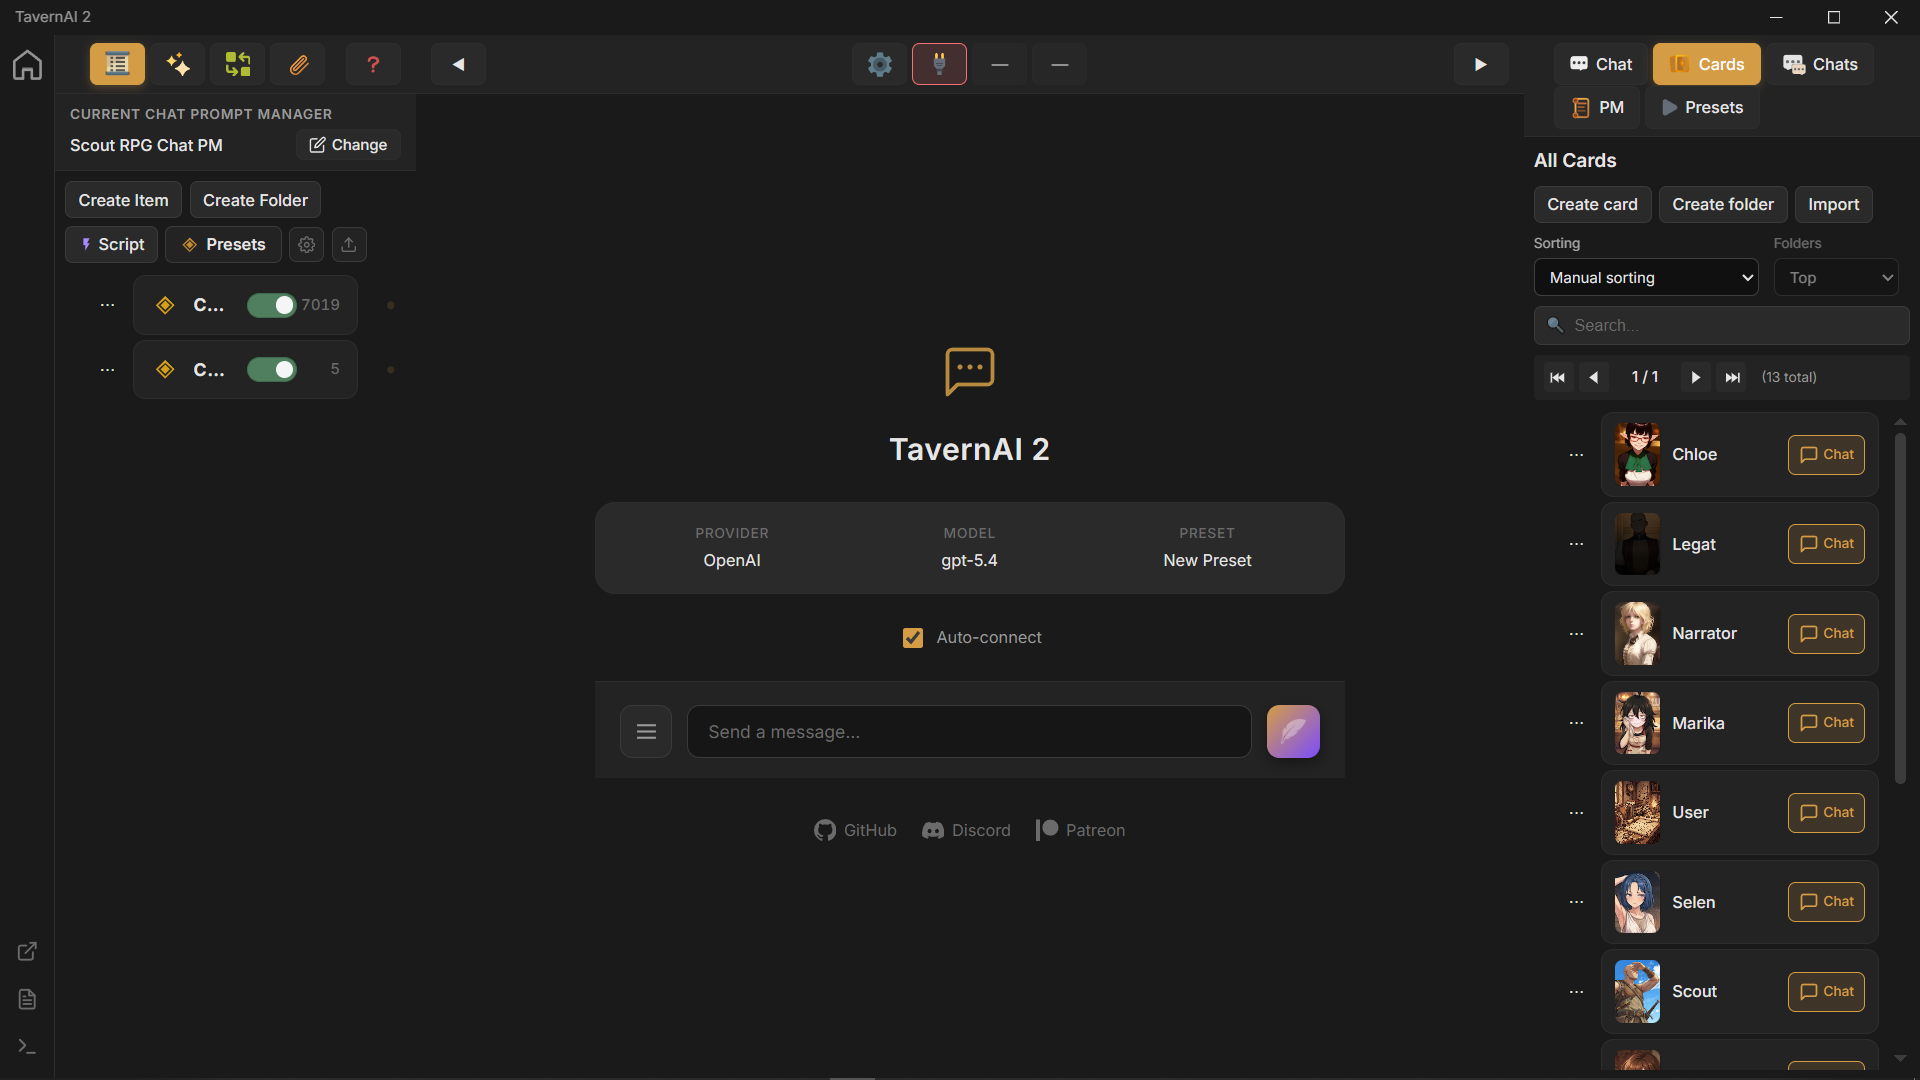
2. Adding Cards
Section titled “2. Adding Cards”At this point, we are not speaking as any character card yet. Let’s add a card for ourselves so the chat has a user-side participant.
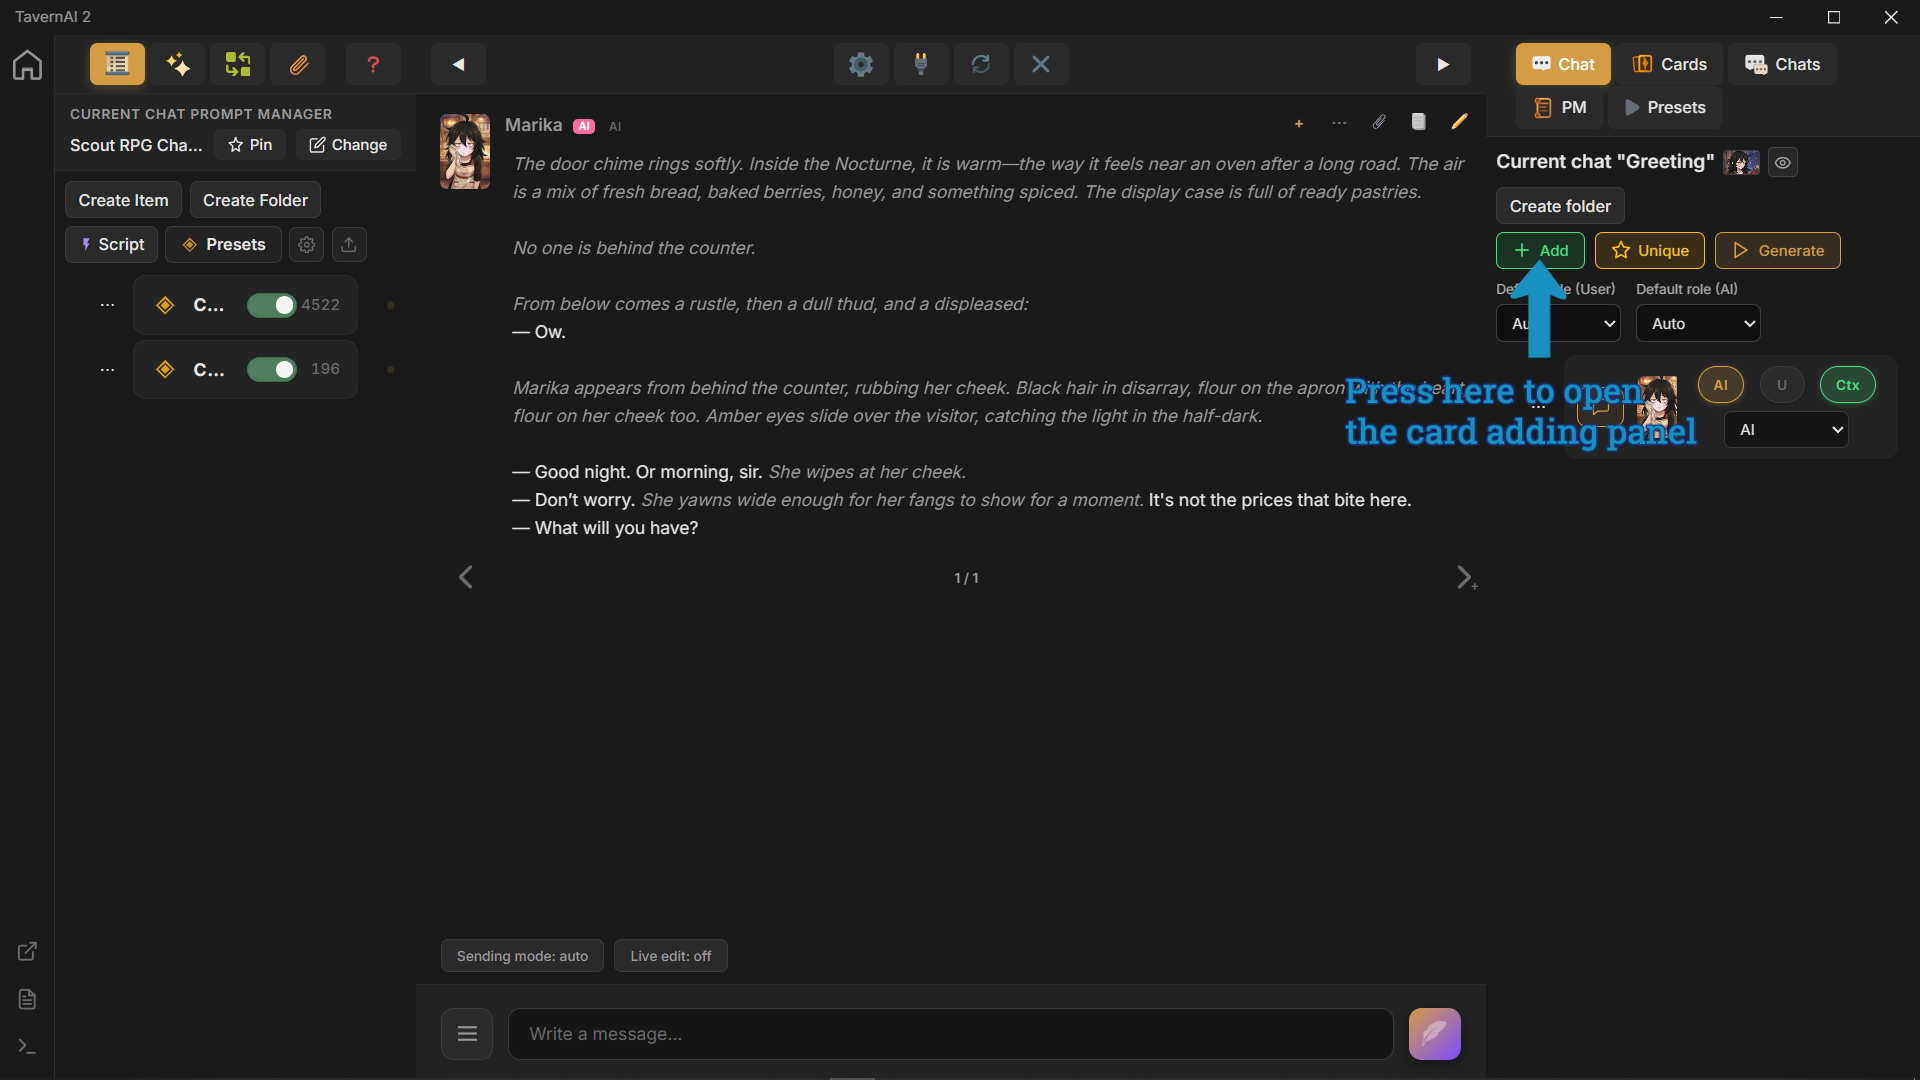
2.1 Open the card panel
Section titled “2.1 Open the card panel”Open the panel for adding cards to the chat.
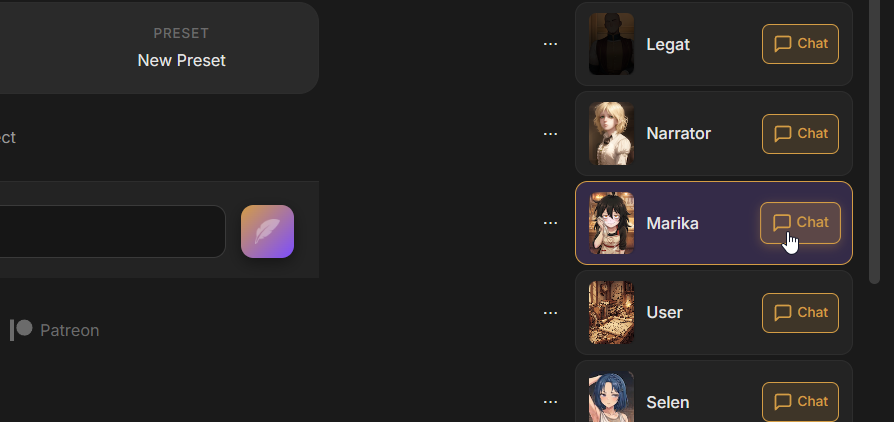
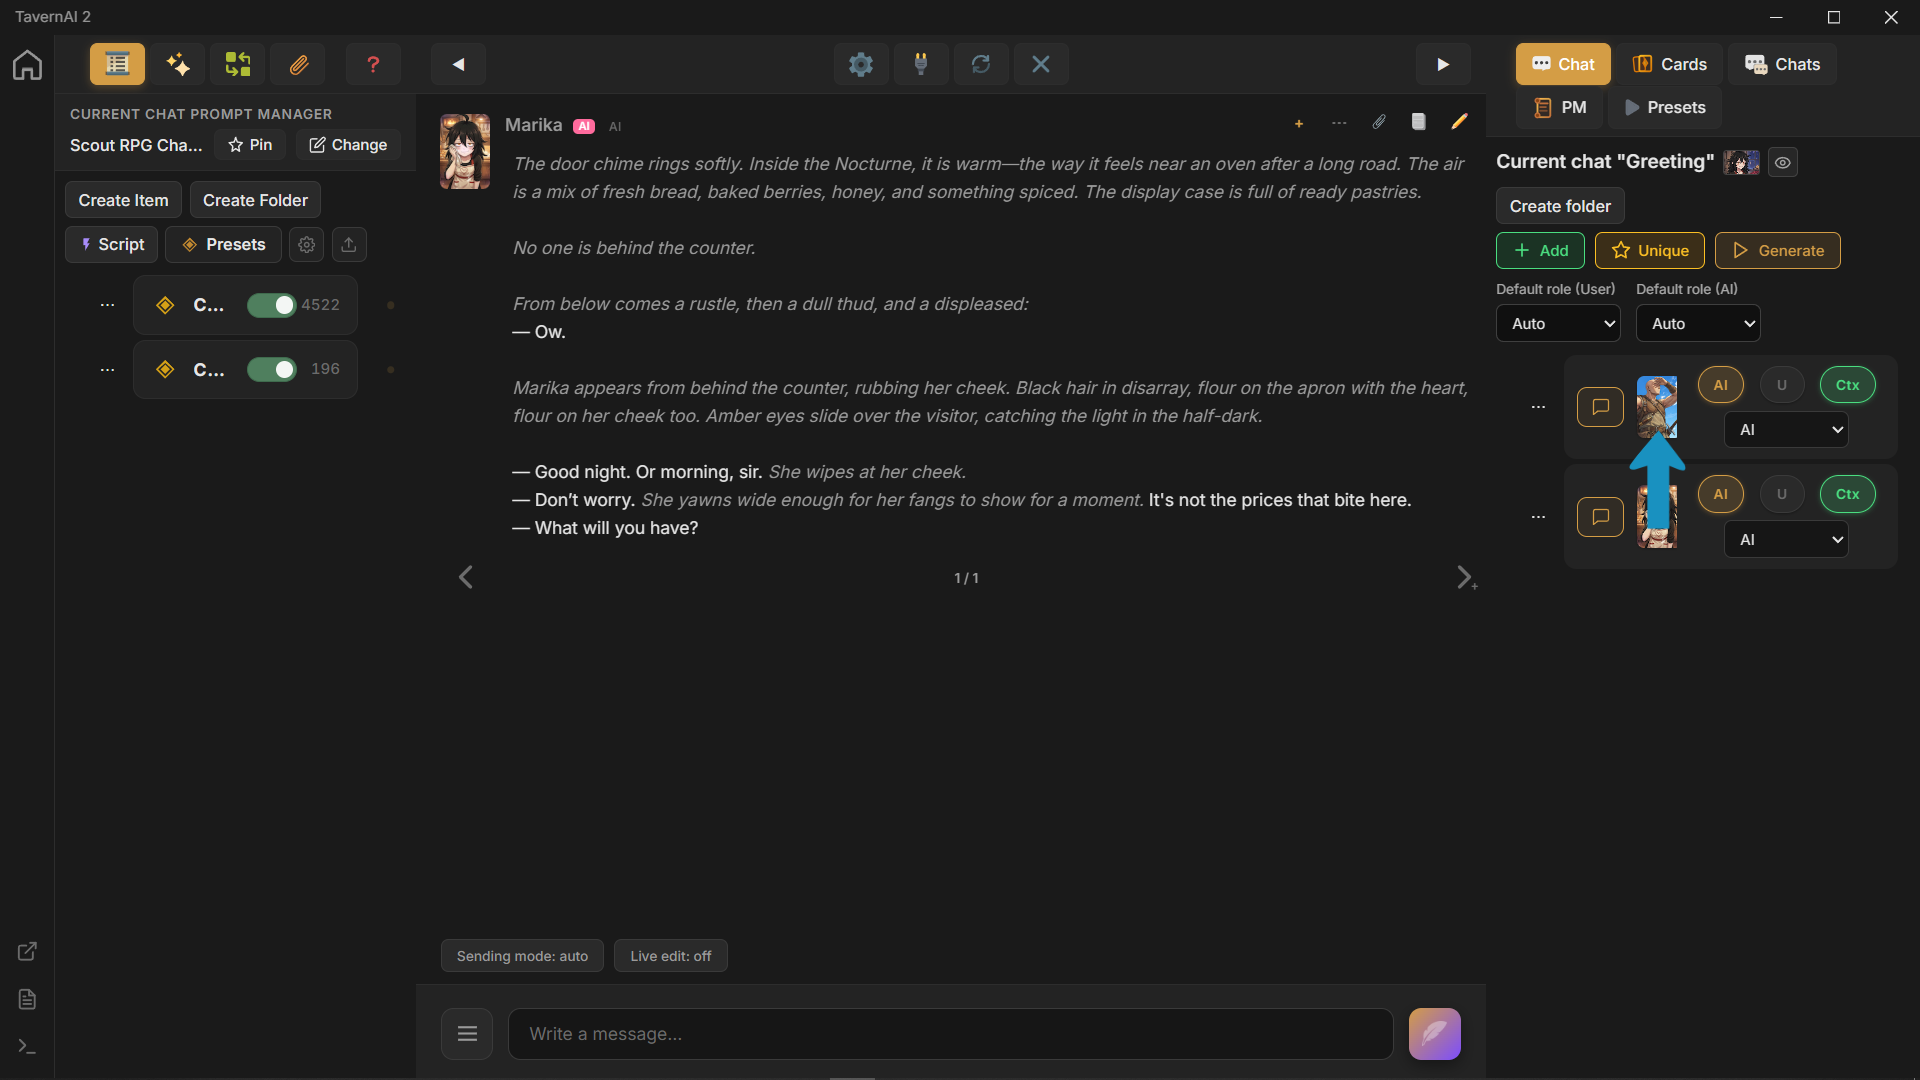
2.2 Add a character
Section titled “2.2 Add a character”Choose the card we want to use for ourselves.

2.3 Configure the card
Section titled “2.3 Configure the card”The card is now in the chat.
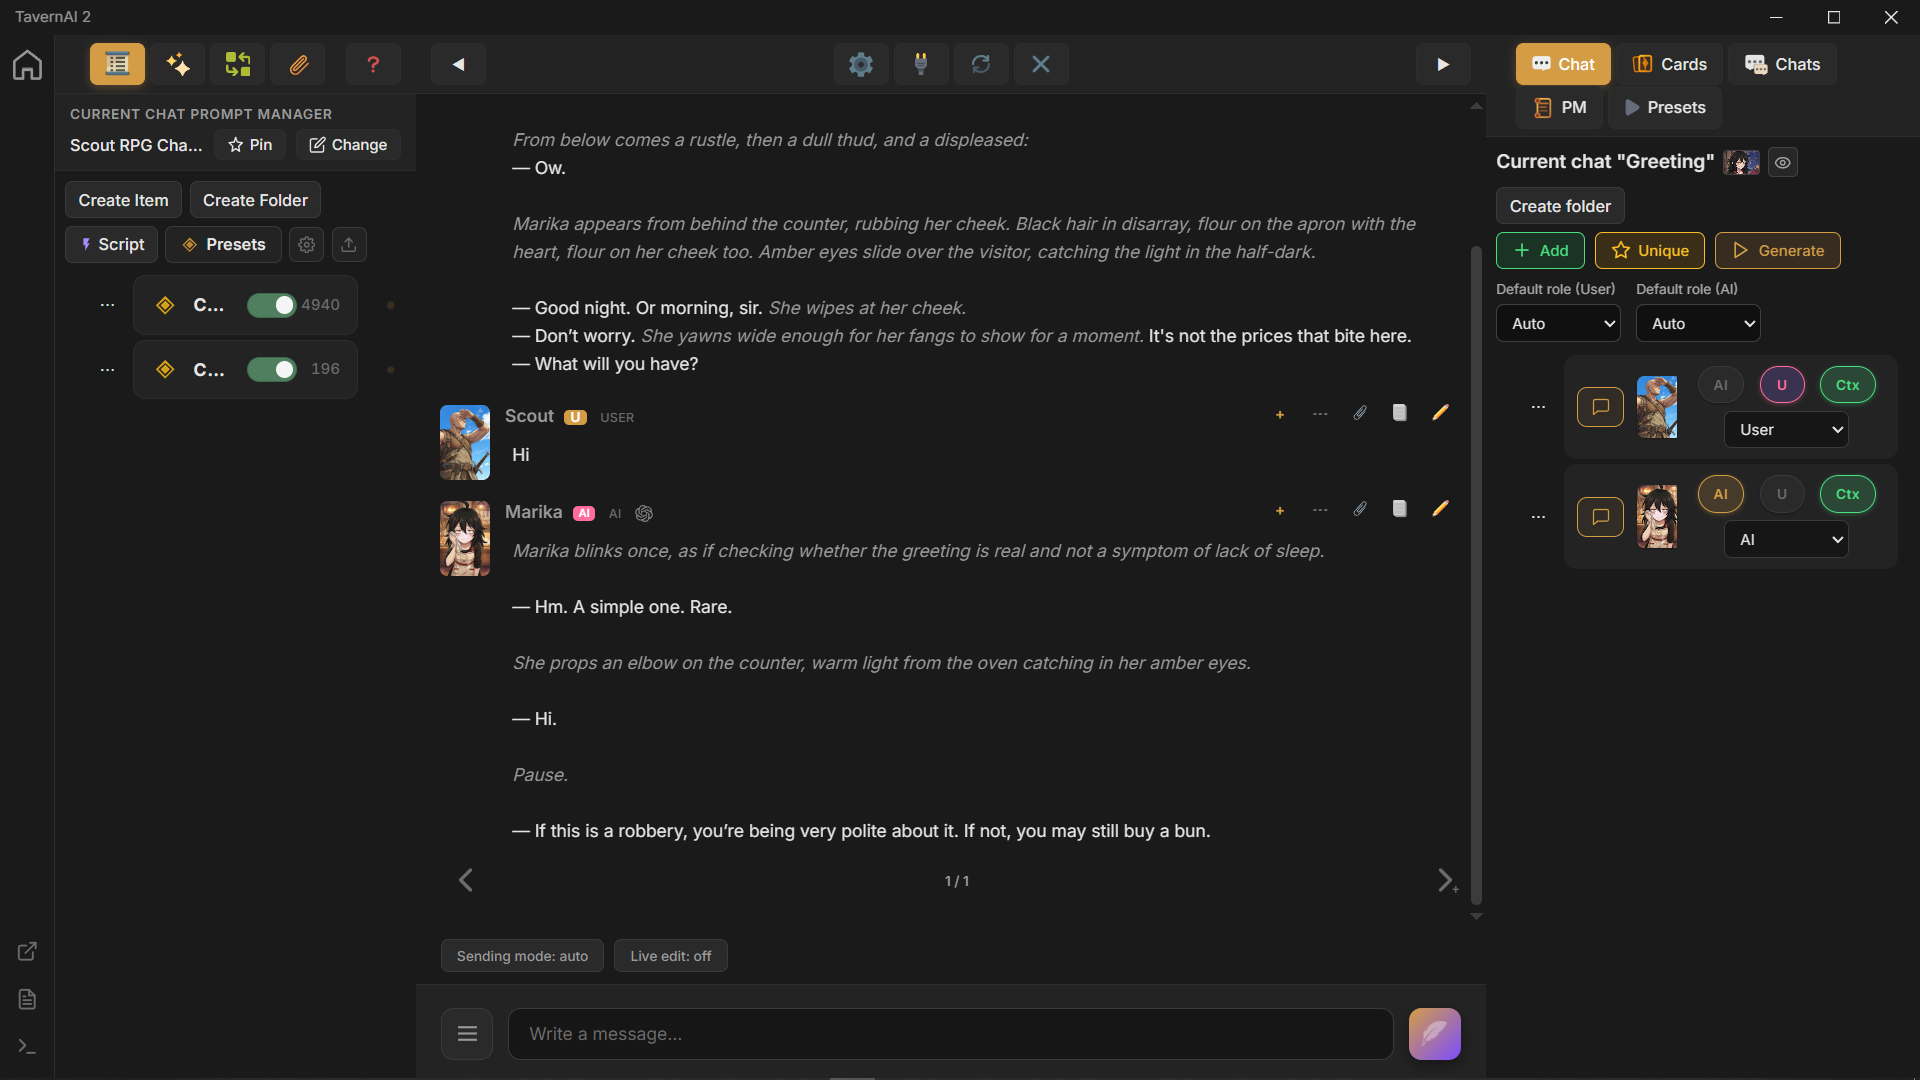
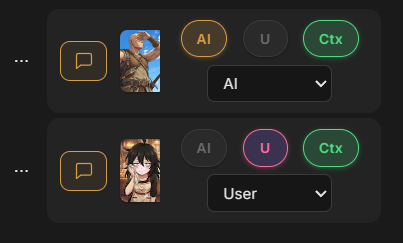
Right now, the AI is set to speak for both cards. Let’s set Scout as our card, and leave Marika as the AI-side card.
This is what Scout looks like when the AI speaks for that card:

And this is Scout after we assign the card to ourselves:

The card controls mean:
AI — cards with this enabled can participate in AI-generated messages.
U — cards with this enabled can participate in your messages.
Ctx — when enabled, the card’s Prompt Manager is added to generation context.
Role selector — controls the Chat Completion role for messages from this card, so the model knows whether they should be treated as user-side or AI-side messages.
2.4 Send a message as the card
Section titled “2.4 Send a message as the card”Now we send a message as Scout. Marika reacts differently because the chat now has a clear user-side character.
3. Flip the Roles
Section titled “3. Flip the Roles”Now let’s start a new chat and reverse the card settings.
This time, we are playing as Marika, the owner of the night bakery, and receiving Scout as the guest.